

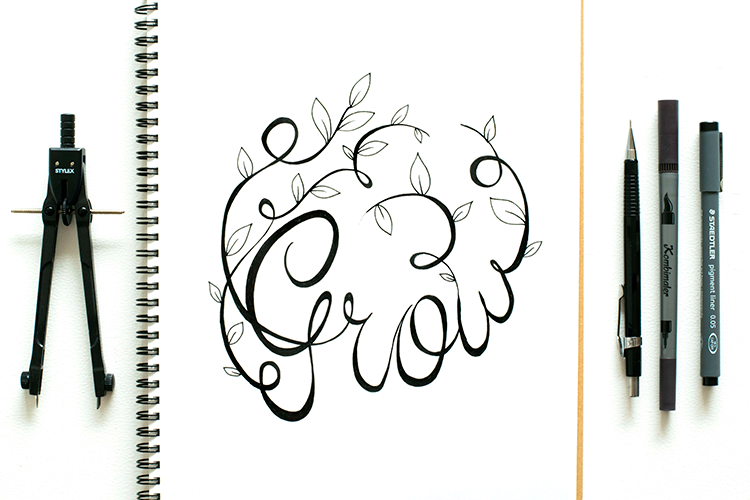
Pencil, Pen and Paper: Basic resources to start drawing
Doodling has helped me to reconnect with my creative persona, because of my doodling creative venture I have met wonderful people around the globe and been able to create a wonderfully creative community.
Maybe you use to doodle and want to get back to it or maybe you always been curious about it but don’t know where to start, what materials to use.
Drawing has helped me to reconnect with my creative persona, because of my Illustraion creative venture I have met wonderful people around the globe and been able to create a wonderfully creative community.
Maybe you used to draw and now you want to get back to it or maybe you always been curious about it, but don’t know where to start, what materials to use.
I have created this resource list, not as a shopping list, but a resource list that you can look at and then decide what better suits you. No overwhelm, no rush! I want you to enjoy the experience of drawing, so this is a guide to see what is out there.

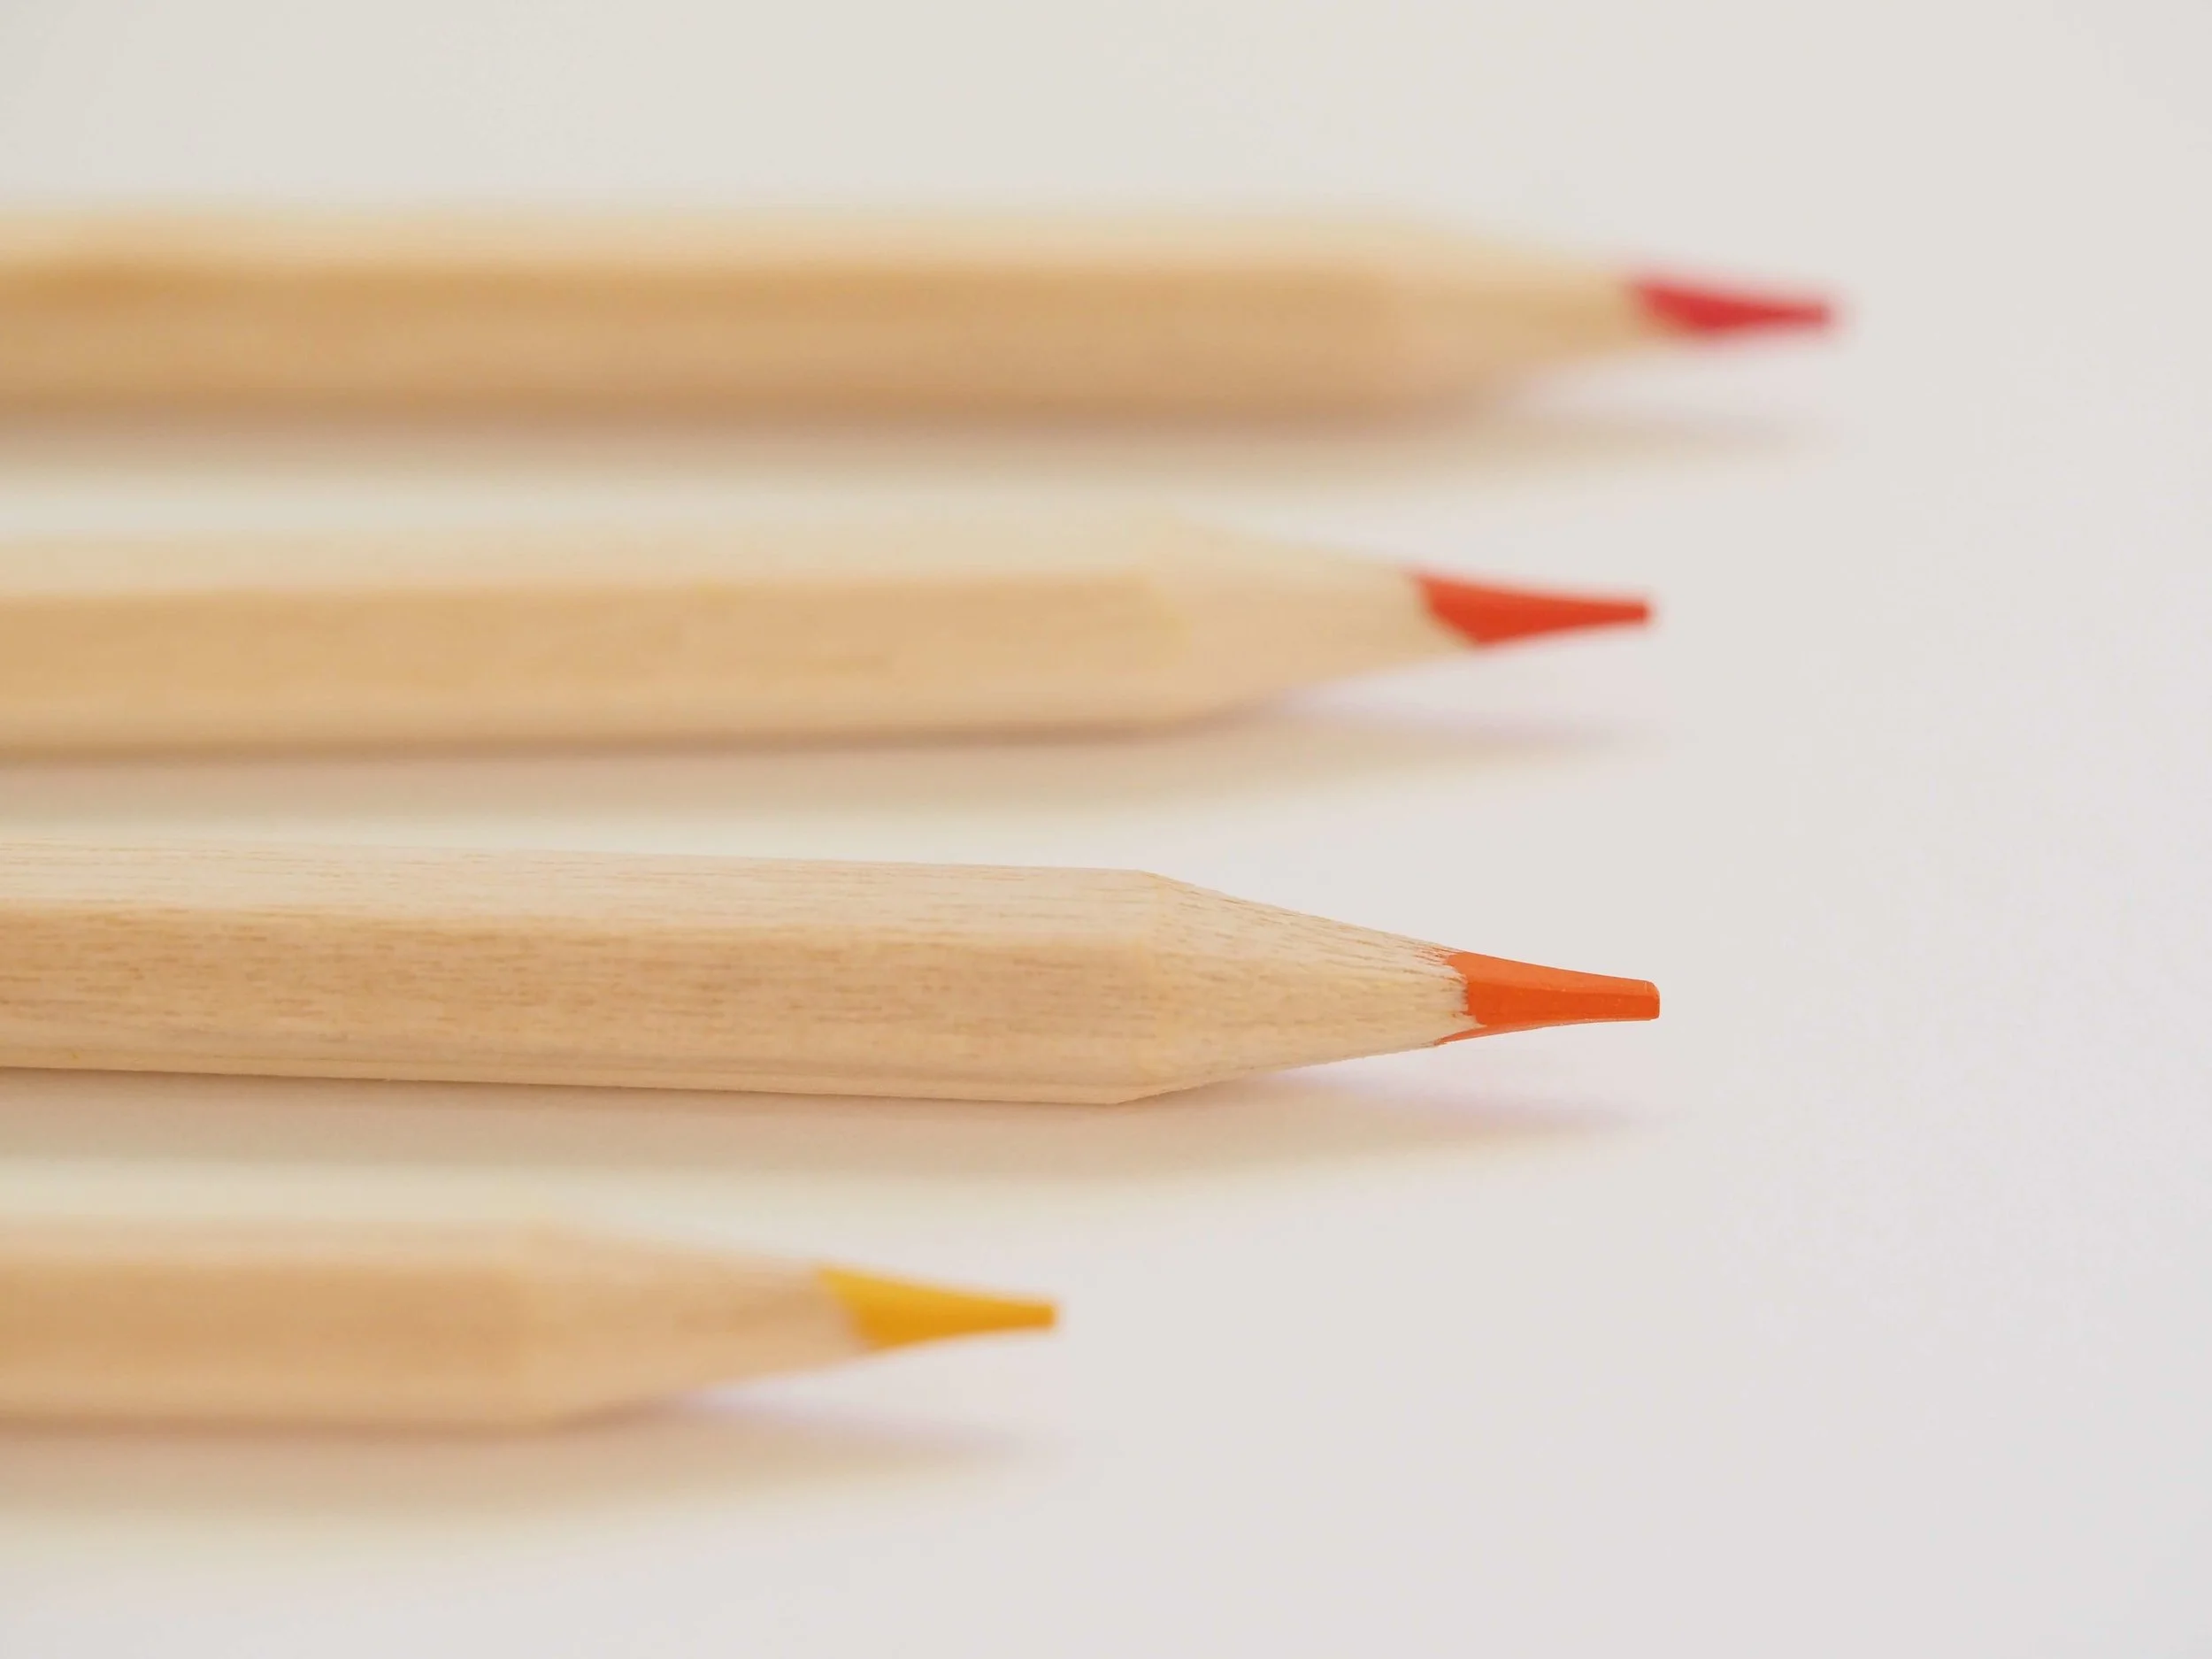
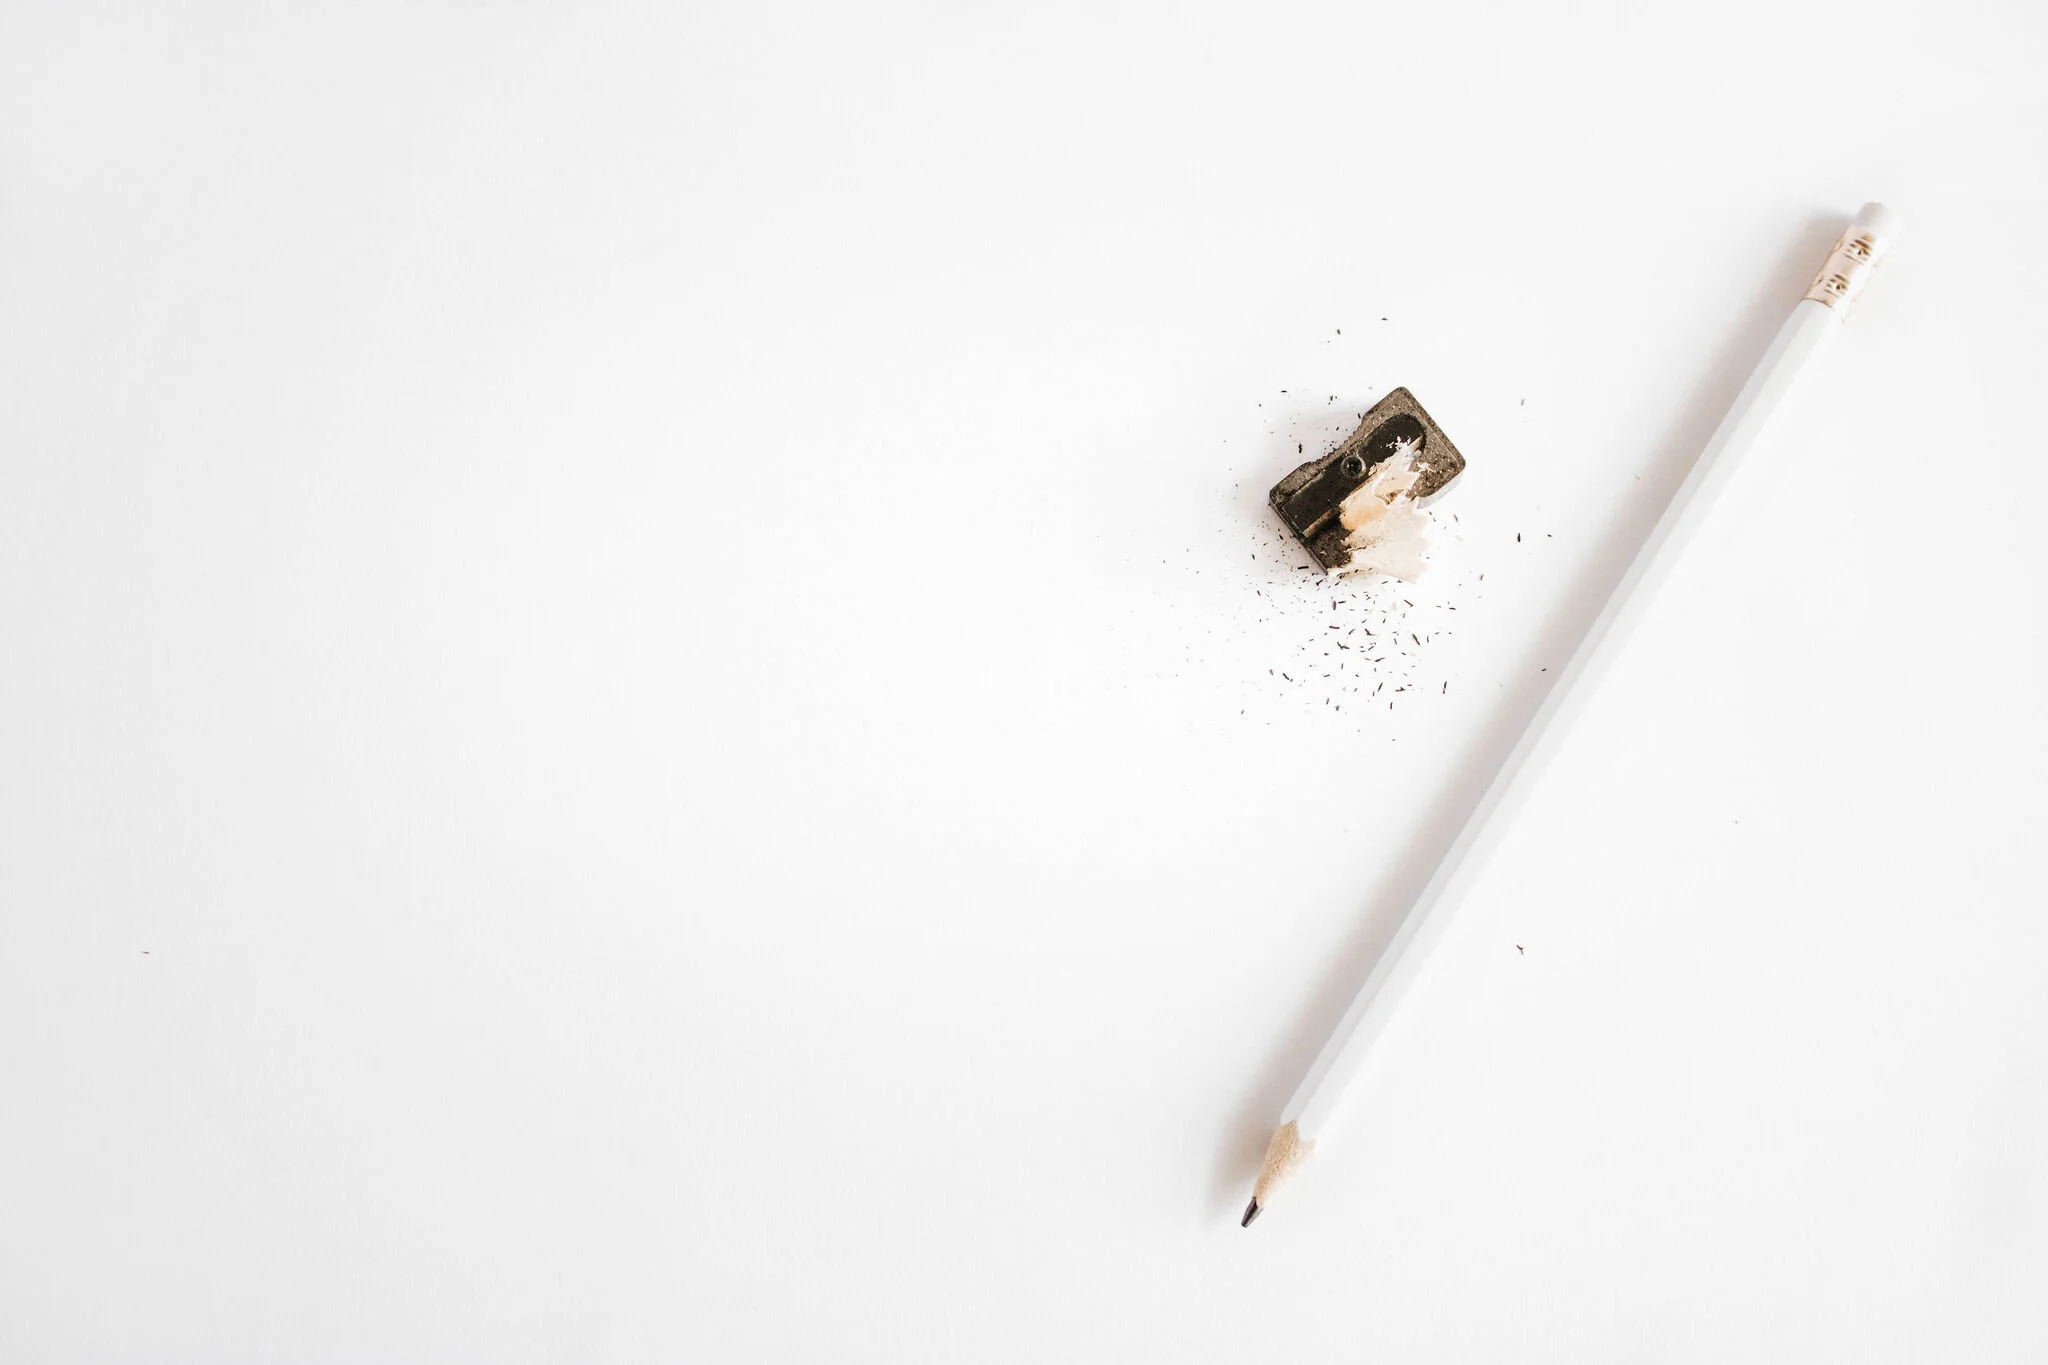
Pencils, Mechanical Pencils
You can use Pencils to draft a rough sketch of your drawings. Pencils have different numbers that refer to hardness and blackness of the lead. The lead is made of graphite which is why it leaves the dark grey trace.
From the site Pencil.com, they explain
“Most pencil manufacturers outside of the U.S. use the HB graphite scale, using the letter “H” to indicate a hard pencil and another letter or number to indicate blackness”
So not to get very technical and nerdy…. You have 2B HB… If I had to choose one I would go for an HB pencil with a softer light trace that I can retrace later with an ink pen.
Blackwinds are professional quality pencils, so their price range is higher (around 21$ per pencil). They have a very distinct shape at the top where the eraser is. You can say they are so good that they are a cult pencil, I haven’t tried them though.
These pencils are very appealing #stationeryhorders, they look super fancy in photographs if you plan to share your drawings, let’s say on Instagram.
Mechanical pencils are a great option as well, personally, I like to use them cause the trace can be soft or hard depending on how much pressure you apply. You don’t need to sharpen them, so your lines will always be crisp.
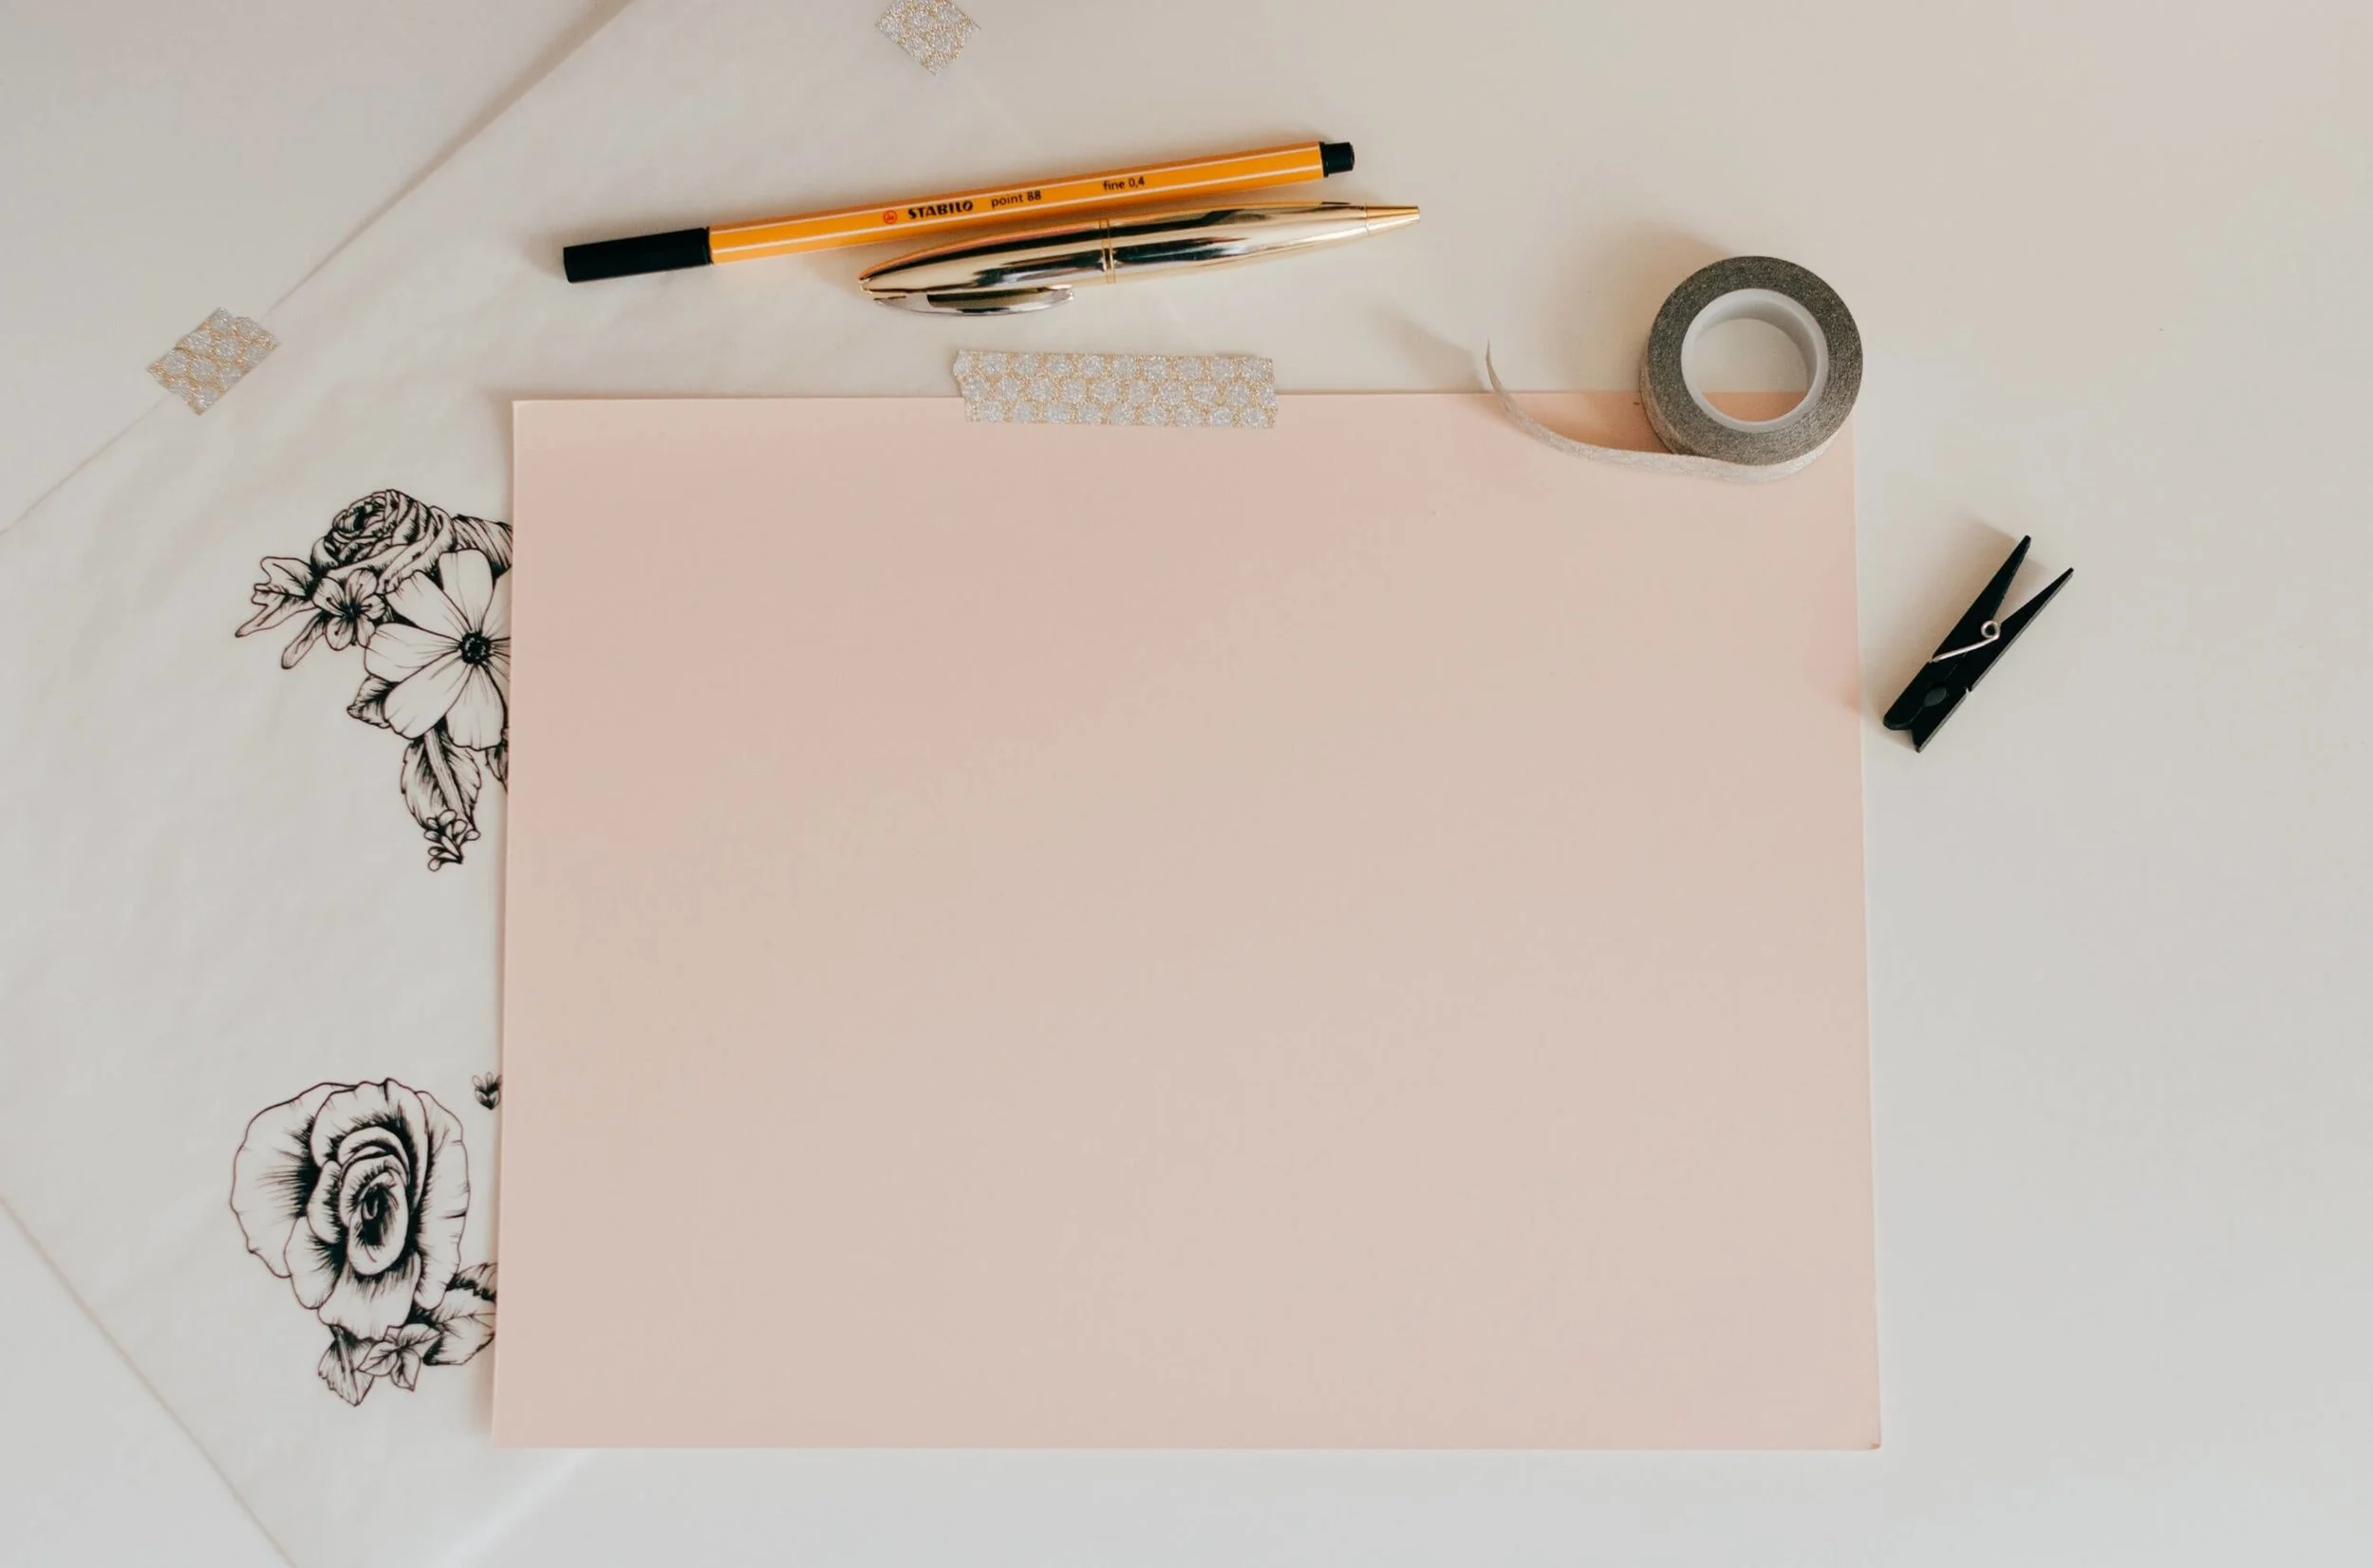
Ink Pens
There are many brands out there, I’m sharing with you the ones I have in my pencil case. The Ink Pens I use are generally made of black ink, waterproof so I can use them with watercolors and are made with archival ink, meaning that they withstand the pass of time. They are permanent on many surfaces, they give out a crisp image that doesn’t bleed.
In my pencil case, I have Pigma microns, of different sizes, meaning that the tip of the pen gets thicker with a higher number.
My favorites ones are number 003 and 005. Be wary that these pens are designed to draw in a 90-degree angle.
I also have in my “not very frequently use pencil bag” Pentel markers, their quality is great and the tip is just like a regular marker.
If you are into lettering, you can use your Tombow dual brush pen. Using the short tip end to do your drawings or if you like the brush stroke look you can use the brush tip.
Also, these are great to add a dash of color to your doodles. Like rosy cheeky if drawing faces.
Good to know!
Inking: Is the normally the process of retracing your drawing or doodle made with a pencil with an ink pen. That is why I prefer to do a light mark with the pencil, that can be easily erased after the ink is dry. Is kind of cleaning and tidy up your art piece.
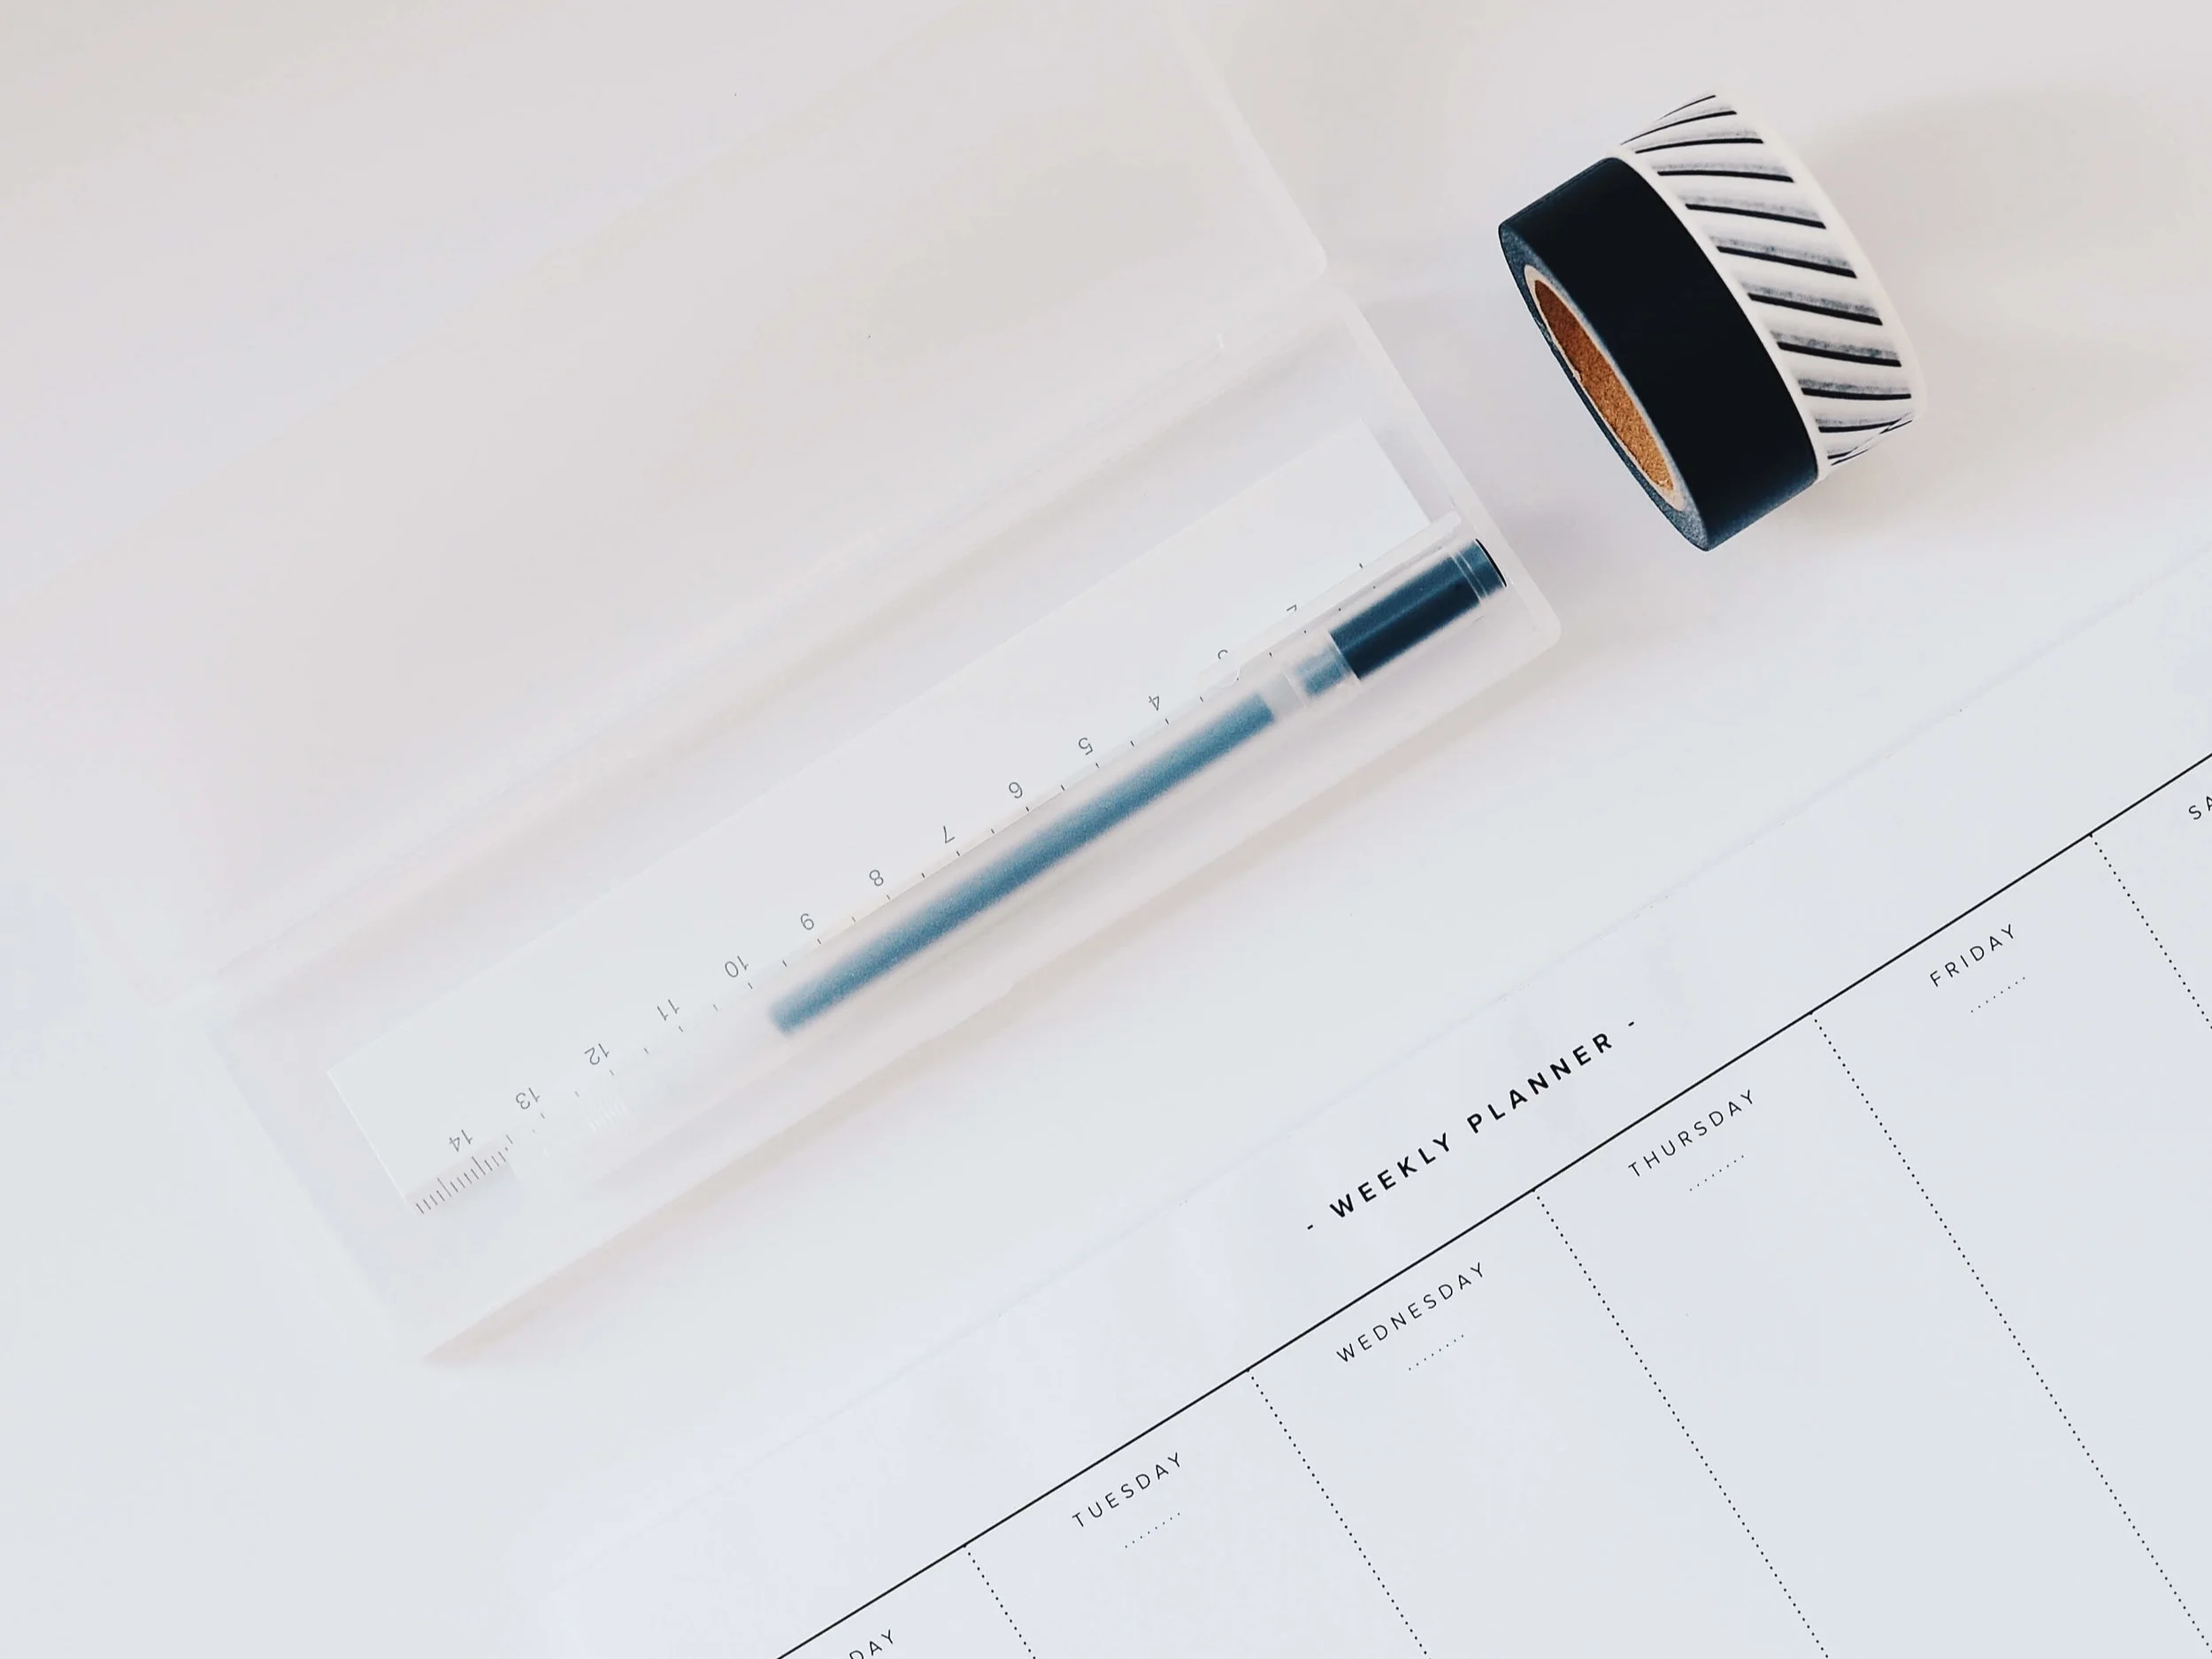
Paper
You can use just a simple drawing pad or sketchbook. But in this category, you will find endless possibilities. You can use white paper, color paper and even black with a white gel pen in this case.
I have sketchbooks, too many my husband would say, but I always go back to my Marker drawing pad.
Why? because I can be working on a project, tear the page off the pad and save it in my folder. That way if I want to start another piece I can do it without worrying about wrinkling or damaging what I have already done.
Sorry I digress…
As I was saying there are many options regarding the paper, but my preferred option and what seems to work for my workflow is using Marker paper.
Maker paper is smooth, white and somewhat translucent. The smoothness helps preserves the tips of the markers so they will last longer. And I love that is translucent enough that I can layer it to try the different option of the same drawing. I use the one from Cason, but there are other brands like Winsor Newton, Strathmore, Goldline.
A white paper is my go-to, that is the Minimalist with Nordic flair gal in me.
I must tell you, Marker Paper is more expensive than your regular paper pad. So, need to balance what works for your budget and what you want to do.
Maybe a small sketchbook for when you are on the go, on the train, on the bus is what you need. Also, dot gridded notebooks are very popular these days, because of Bullet Journaling.
Wow, who knew I could write so much about 3 simple things, Pencils, Pens, and Paper!
If you want to start drawing make sure to check out my Skillshare class Doodling 101, with this link you will get 2 weeks of Free premium membership.
Pin it for later!
Save this image via Pinterest for later!

How to Use Doodling to tap into your Creativity
What if drawing help you feel more comfortable with doubt or helps you approach problems with more flexibility? What about doodling to clarify your thoughts?
Hi there! Let me ask you a question, When you see a person doodling, do you assume they are just scribbling and wasting their time?
Maybe that’s not the case. What if the purpose of doodling or drawing is discovery? What if drawing helps her or him feel more comfortable with doubt or helps them approach problems with more flexibility? What about doodling to clarify your thoughts?

Here are a few examples where doodling can help you see things in unexpected ways.
To stimulate discussion
A group setting is a natural place for drawing to clarify thinking and messaging.
Whether we’re brainstorming or outlining tasks on a piece of paper, explanatory drawings can help us process and remember information.
To teach ideas and enhance presentations and videos
Instead of developing a series of presentation slides, explain a process by drawing and using clear messaging.
Simply doodled figures can be a great way to illustrate concepts.
To solve a problem
You can tackle any problems by sketching its components and visualizing a range of answers. Often one solution will stand out as the best option.
For the simple joy of freeing your mind
Drawing can tap into a part of our minds that feels like play, particularly when we’re generating ideas that are not constrained.
Blue-sky sketching is a great technique to use. Start with a clear question and goal. Free your mind from factors that would normally be restrictive – things like budget, timing, resources, and technology.
You should gather ideas until no more are forthcoming. When you are done with your sketches, look them over and focus on the ones that have promise.
For personal inspiration
Keep a drawing journal with images, inspirations, and photos. It doesn’t matter if you can draw well or not. Just do it!
Buy a sketch pad or book, color markers or pencils and set aside 15 minutes a day to doodle. Doodles can spark ideas!
These ideas can be a combination of things swirly around in your head (enter here the image of Dumbledore and the pensieve; #potterhead #geek) that could transform into something else entirely. Think of it as your 15-minute creativity warm-up.
PIN ME FOR LATER!
Save this image via Pinterest for later!


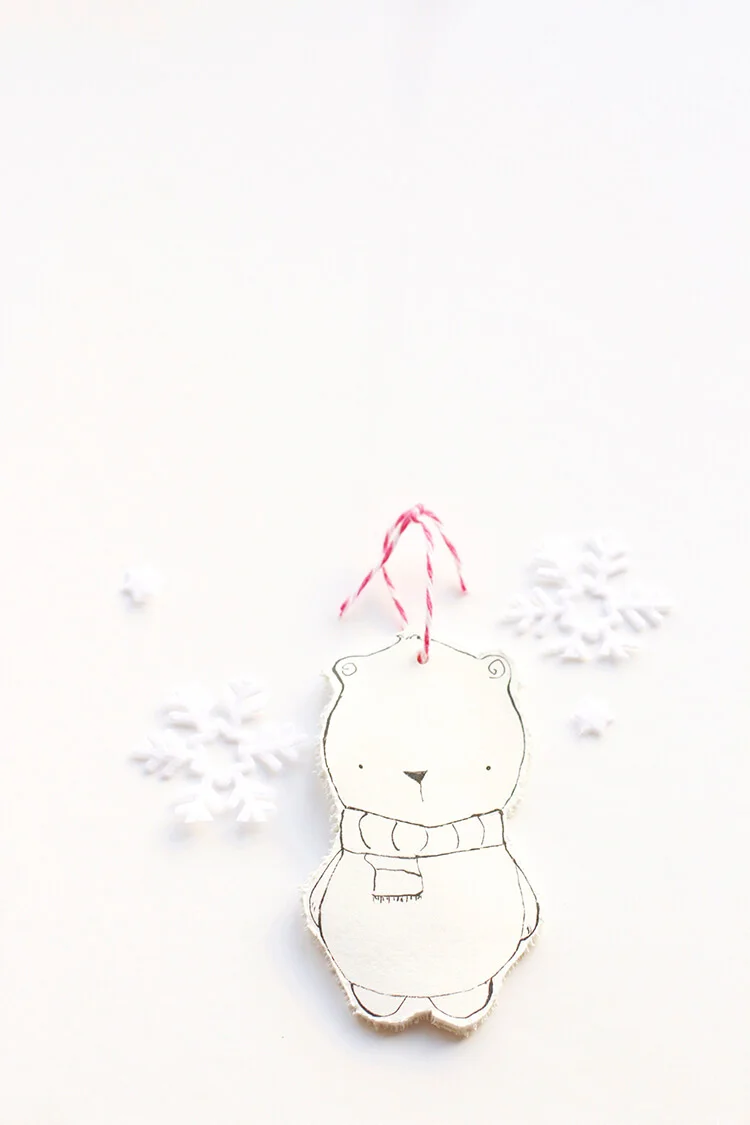
From Illustrations to Christmas Ornaments
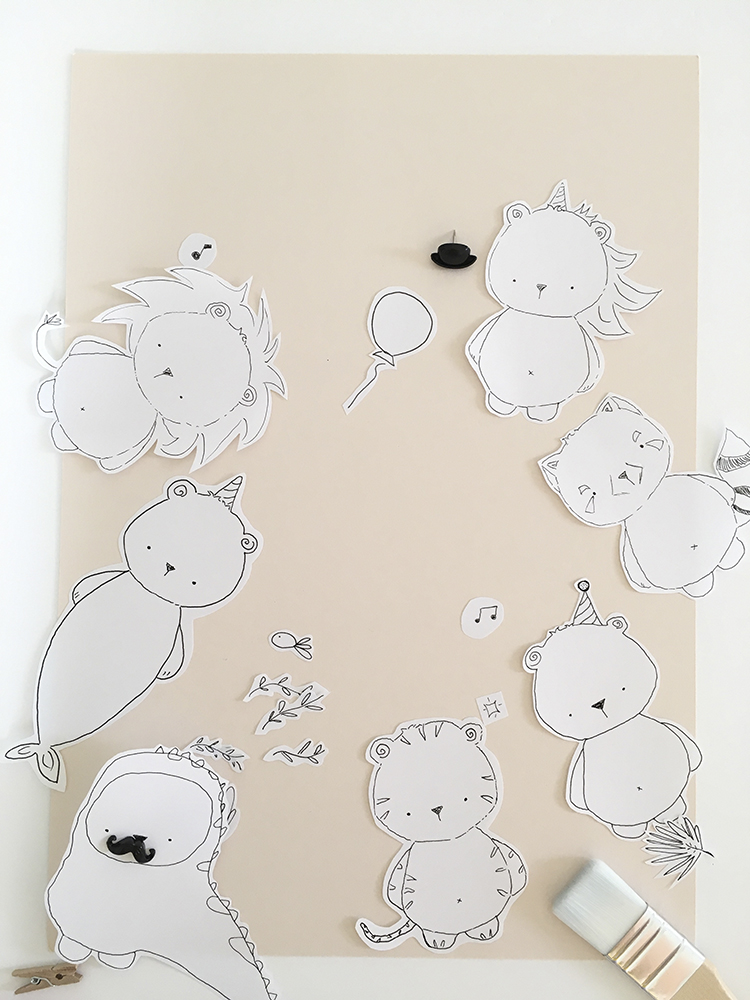
Hi There! I thought it would be fun to bring all those doodles you are constantly sketching on your sketchbook to life, just in time for the holidays. With very little supplies you can create adorable Christmas ornaments that will impress the whole family.
Hi There! I thought it would be fun to bring all those doodles and illustrations you are constantly sketching on your sketchbook to life, just in time for the holidays. Also, you can use any drawing from your kids.
With very little supplies you can create adorable Christmas ornaments that will impress the whole family.
For this tutorial you will need:
Air Dry Clay
Pencil
Doodle paper template
Toothpick
Palette knife
Rolling pin
A fine tip brush
Watercolor paint in the colors of your choice
For the air dry clay and water paint color, I tried the ones in the Craft section from Flying Tiger. If you don't have a Flying Tiger store nearby. You can always find it in good old Amazon.

I used a rolling pin like the ones you would use for making cookies. Roll the clay evenly flat around 3mm thick.

Make sure fits loosely in the amount of clay you have rolled out. Leave a bit extra to account for shrinkage when dry.

With the palette knife cut around the doodle paper template and with a toothpick punch the hole for the cord to hang the ornament.


The instructions on the package said to wait for 24hrs to dry, but since here in the UK is very humid it took around 48hrs.
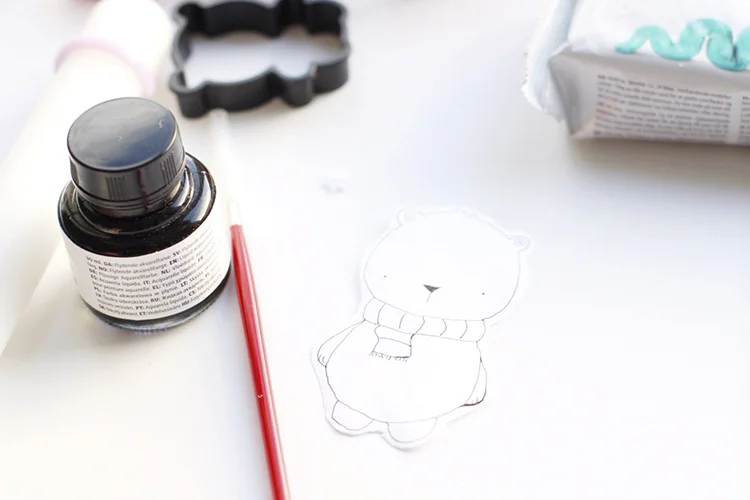
Once dried lightly sketch your doodle!
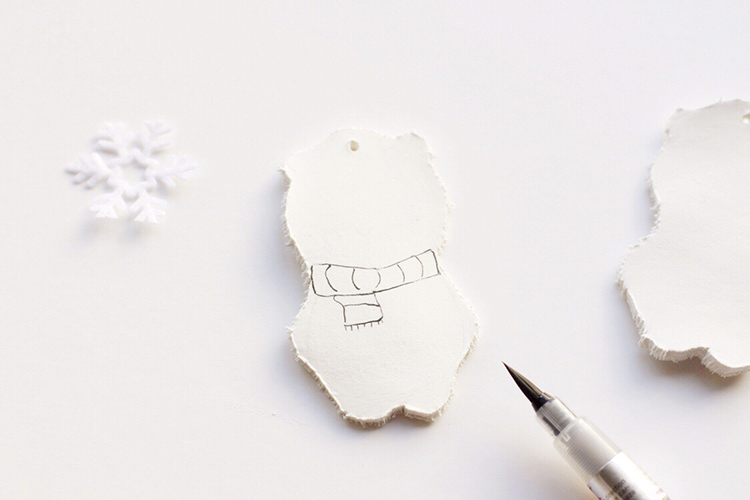
Then grab a fine tip brush and watercolor paint of your choice and go over the light sketch. I choose black since I wanted to go for that Scandinavian feel.
But feel free to use any color you want.
For the final touch add a bit of baker twine to hand you decoration on the tree!
Hope you enjoyed this quick and easy tutorial! I can´t wait to see what you create! This also can be a great afternoon activity with the kids.
Cheers,
Caro