
From Illustrations to Christmas Ornaments
Hi There! I thought it would be fun to bring all those doodles and illustrations you are constantly sketching on your sketchbook to life, just in time for the holidays. Also, you can use any drawing from your kids.
With very little supplies you can create adorable Christmas ornaments that will impress the whole family.
For this tutorial you will need:
Air Dry Clay
Pencil
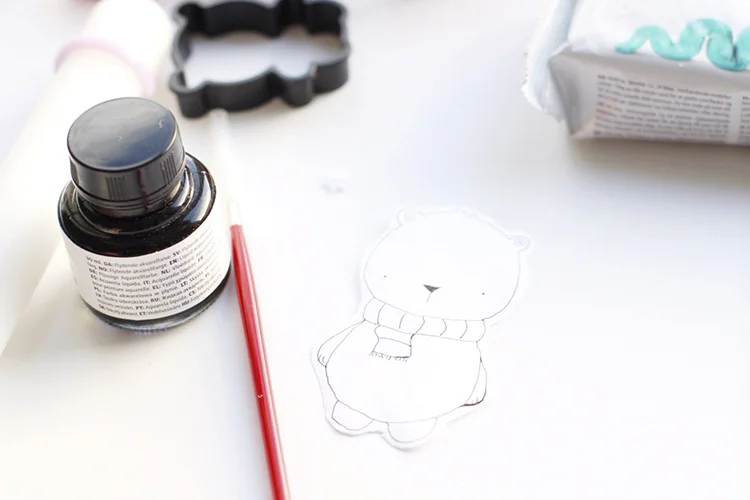
Doodle paper template
Toothpick
Palette knife
Rolling pin
A fine tip brush
Watercolor paint in the colors of your choice
For the air dry clay and water paint color, I tried the ones in the Craft section from Flying Tiger. If you don't have a Flying Tiger store nearby. You can always find it in good old Amazon.

I used a rolling pin like the ones you would use for making cookies. Roll the clay evenly flat around 3mm thick.

Make sure fits loosely in the amount of clay you have rolled out. Leave a bit extra to account for shrinkage when dry.

With the palette knife cut around the doodle paper template and with a toothpick punch the hole for the cord to hang the ornament.


The instructions on the package said to wait for 24hrs to dry, but since here in the UK is very humid it took around 48hrs.
Once dried lightly sketch your doodle!
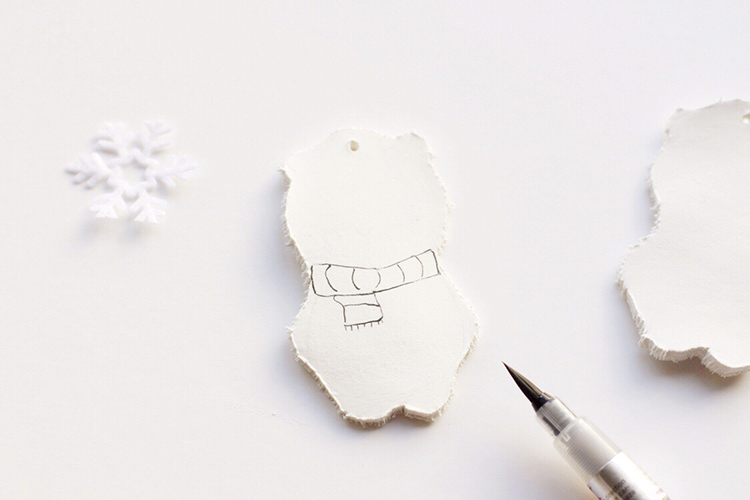
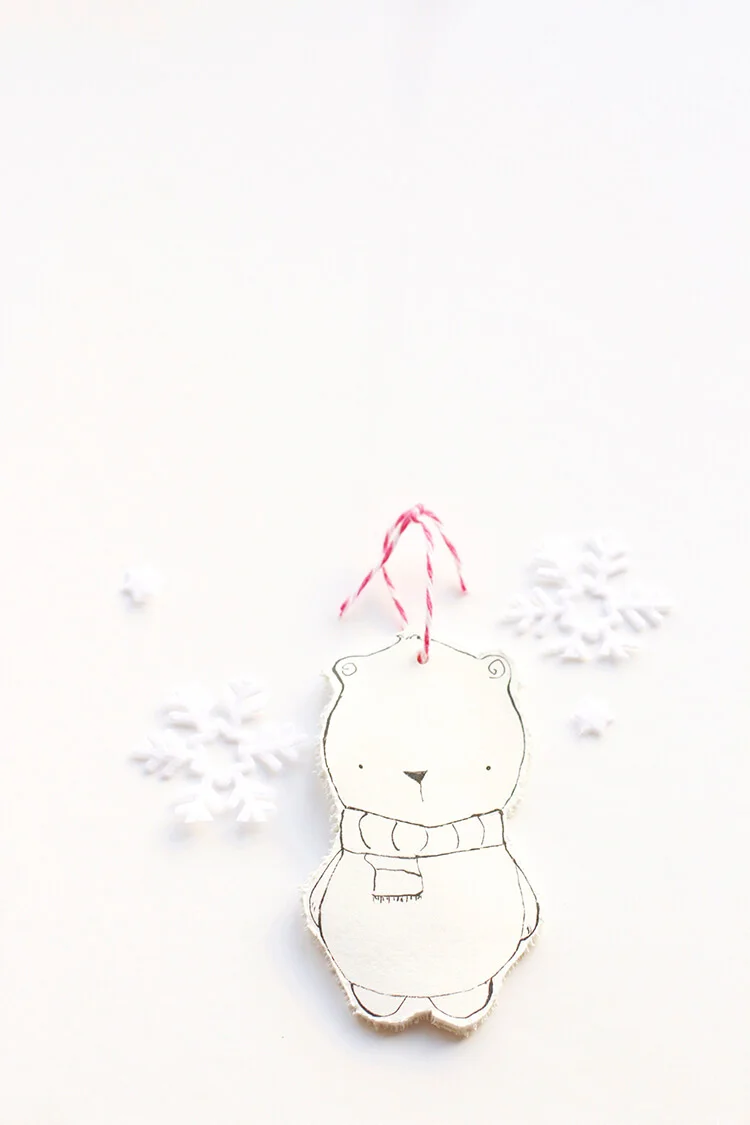
Then grab a fine tip brush and watercolor paint of your choice and go over the light sketch. I choose black since I wanted to go for that Scandinavian feel.
But feel free to use any color you want.
For the final touch add a bit of baker twine to hand you decoration on the tree!
Hope you enjoyed this quick and easy tutorial! I can´t wait to see what you create! This also can be a great afternoon activity with the kids.
Cheers,
Caro