How to Use Doodling to tap into your Creativity
What if drawing help you feel more comfortable with doubt or helps you approach problems with more flexibility? What about doodling to clarify your thoughts?
Hi there! Let me ask you a question, When you see a person doodling, do you assume they are just scribbling and wasting their time?
Maybe that’s not the case. What if the purpose of doodling or drawing is discovery? What if drawing helps her or him feel more comfortable with doubt or helps them approach problems with more flexibility? What about doodling to clarify your thoughts?

Here are a few examples where doodling can help you see things in unexpected ways.
To stimulate discussion
A group setting is a natural place for drawing to clarify thinking and messaging.
Whether we’re brainstorming or outlining tasks on a piece of paper, explanatory drawings can help us process and remember information.
To teach ideas and enhance presentations and videos
Instead of developing a series of presentation slides, explain a process by drawing and using clear messaging.
Simply doodled figures can be a great way to illustrate concepts.
To solve a problem
You can tackle any problems by sketching its components and visualizing a range of answers. Often one solution will stand out as the best option.
For the simple joy of freeing your mind
Drawing can tap into a part of our minds that feels like play, particularly when we’re generating ideas that are not constrained.
Blue-sky sketching is a great technique to use. Start with a clear question and goal. Free your mind from factors that would normally be restrictive – things like budget, timing, resources, and technology.
You should gather ideas until no more are forthcoming. When you are done with your sketches, look them over and focus on the ones that have promise.
For personal inspiration
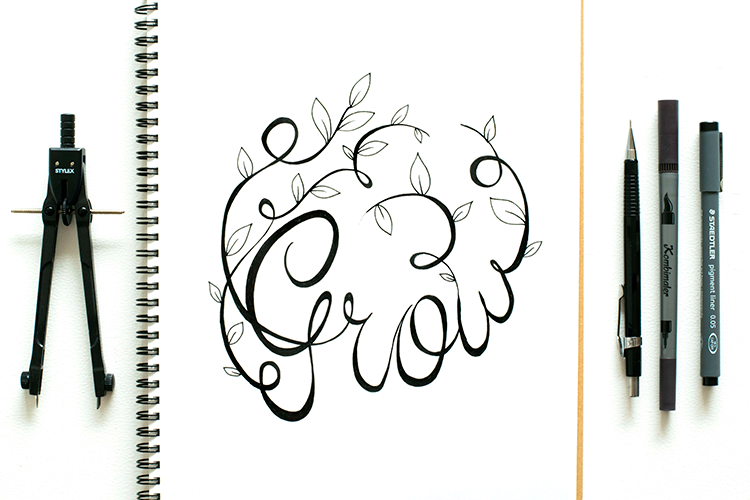
Keep a drawing journal with images, inspirations, and photos. It doesn’t matter if you can draw well or not. Just do it!
Buy a sketch pad or book, color markers or pencils and set aside 15 minutes a day to doodle. Doodles can spark ideas!
These ideas can be a combination of things swirly around in your head (enter here the image of Dumbledore and the pensieve; #potterhead #geek) that could transform into something else entirely. Think of it as your 15-minute creativity warm-up.
PIN ME FOR LATER!
Save this image via Pinterest for later!


From Illustrations to Christmas Ornaments
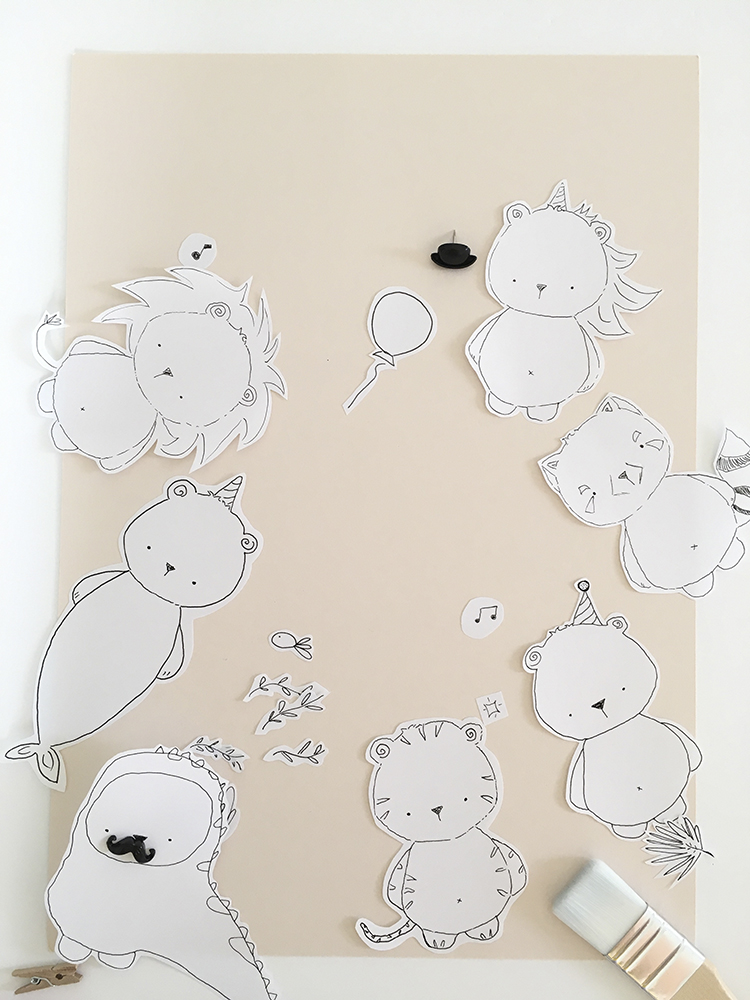
Hi There! I thought it would be fun to bring all those doodles you are constantly sketching on your sketchbook to life, just in time for the holidays. With very little supplies you can create adorable Christmas ornaments that will impress the whole family.
Hi There! I thought it would be fun to bring all those doodles and illustrations you are constantly sketching on your sketchbook to life, just in time for the holidays. Also, you can use any drawing from your kids.
With very little supplies you can create adorable Christmas ornaments that will impress the whole family.
For this tutorial you will need:
Air Dry Clay
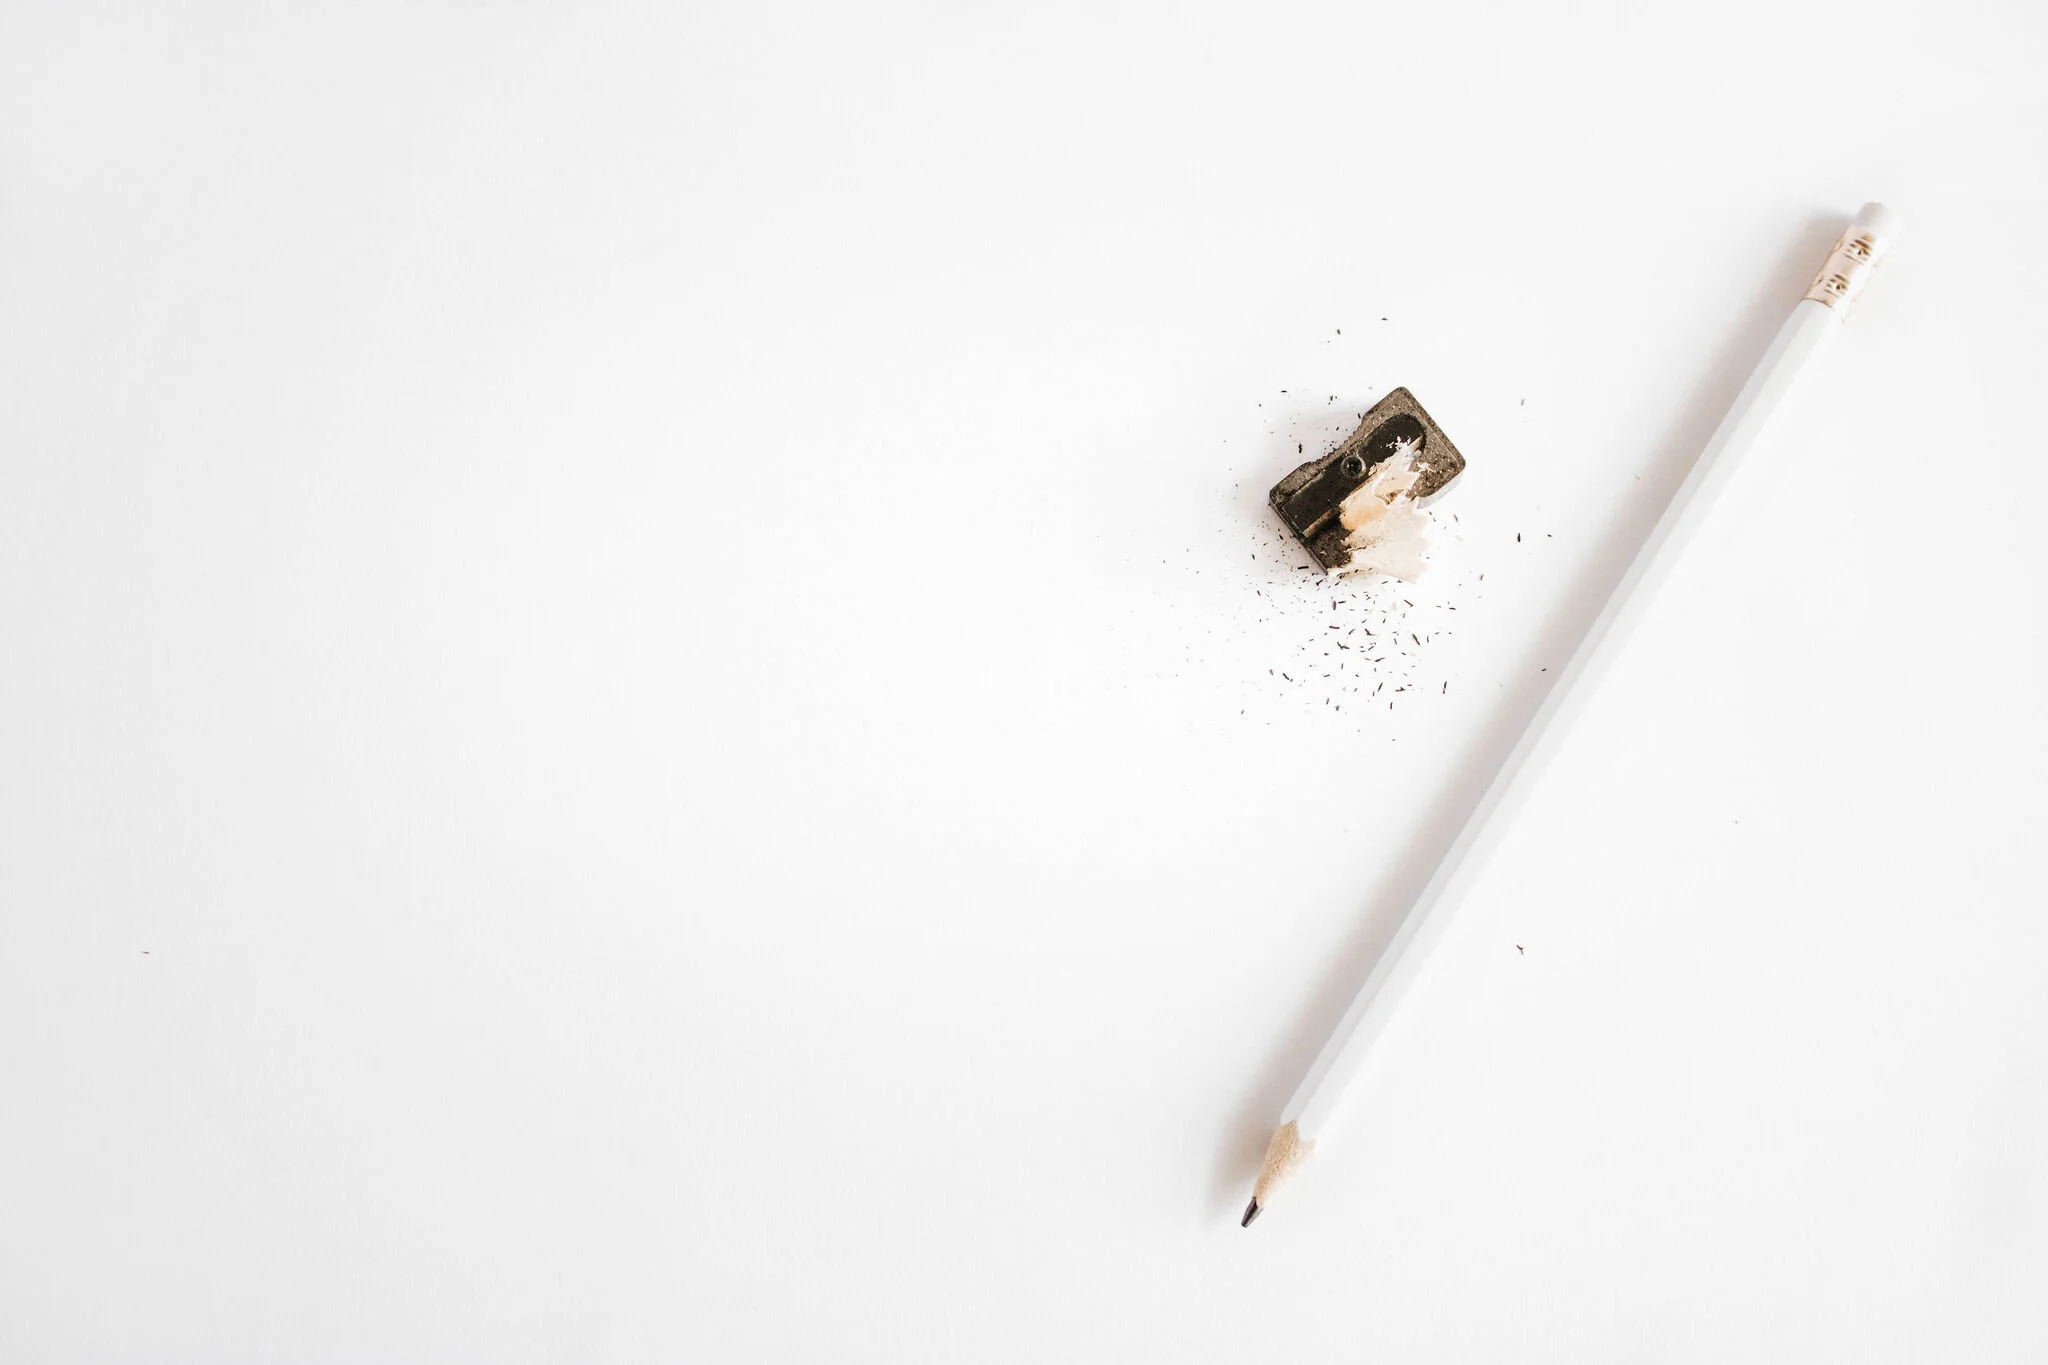
Pencil
Doodle paper template
Toothpick
Palette knife
Rolling pin
A fine tip brush
Watercolor paint in the colors of your choice
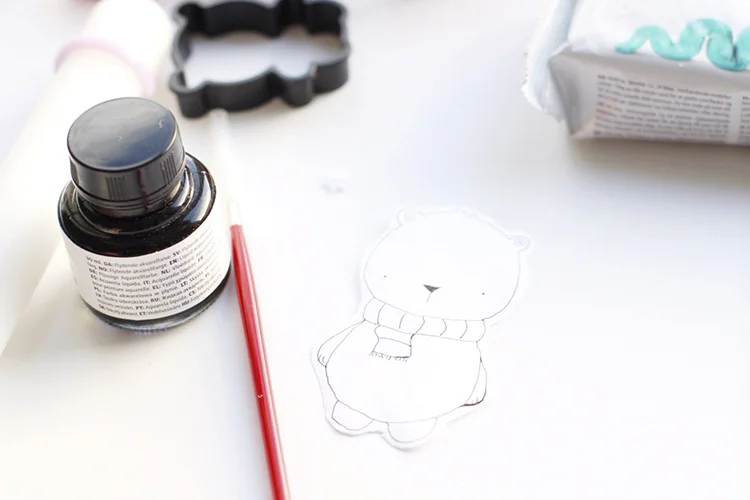
For the air dry clay and water paint color, I tried the ones in the Craft section from Flying Tiger. If you don't have a Flying Tiger store nearby. You can always find it in good old Amazon.

I used a rolling pin like the ones you would use for making cookies. Roll the clay evenly flat around 3mm thick.

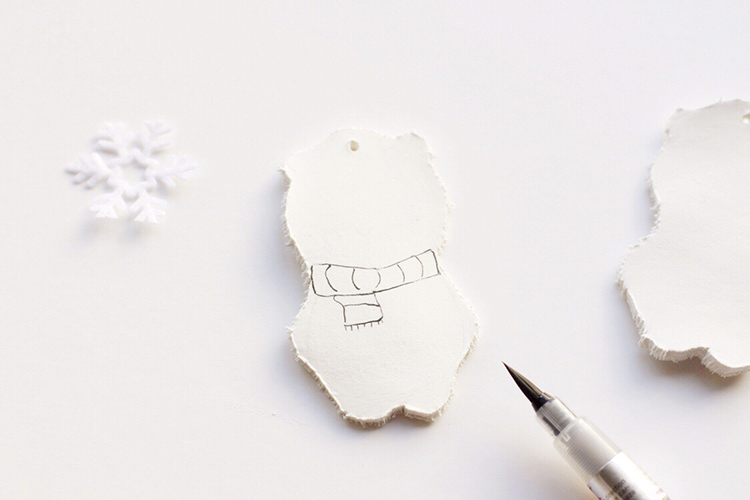
Make sure fits loosely in the amount of clay you have rolled out. Leave a bit extra to account for shrinkage when dry.

With the palette knife cut around the doodle paper template and with a toothpick punch the hole for the cord to hang the ornament.


The instructions on the package said to wait for 24hrs to dry, but since here in the UK is very humid it took around 48hrs.
Once dried lightly sketch your doodle!
Then grab a fine tip brush and watercolor paint of your choice and go over the light sketch. I choose black since I wanted to go for that Scandinavian feel.
But feel free to use any color you want.
For the final touch add a bit of baker twine to hand you decoration on the tree!
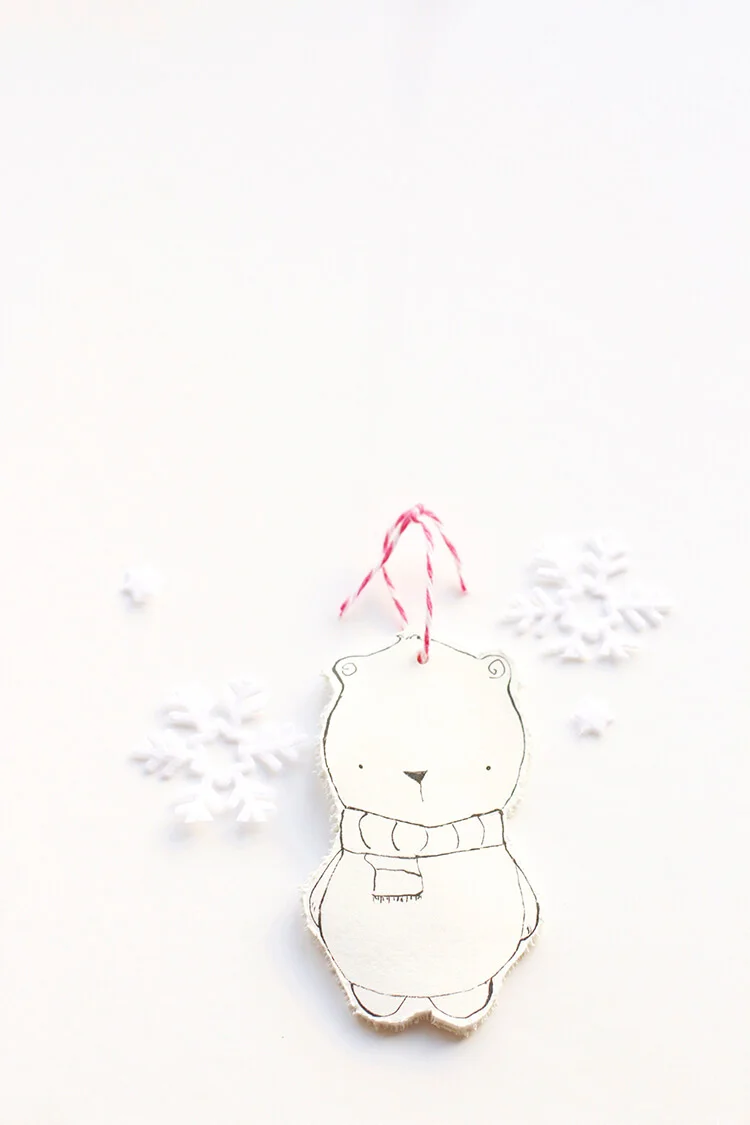
Hope you enjoyed this quick and easy tutorial! I can´t wait to see what you create! This also can be a great afternoon activity with the kids.
Cheers,
Caro

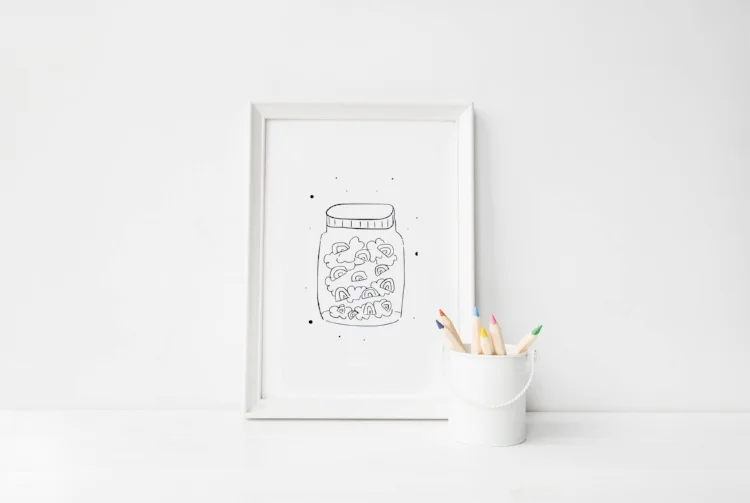
How to: Create a nursery gallery wall
Have you ever wonder how to hang all those pretty prints that you have in a beautiful art wall display? Take advantage of slow weekends to do a mini makeover, creating your own wall art gallery!
Have you ever wonder how to hang all those pretty prints that you have in a beautiful art wall display? Take advantage of slow weekends to do a mini makeover, creating your own wall art gallery!
For all soon to be moms, a wall art gallery it´s a great way to decorate the nursery room. You can show your own style and personality by selecting a theme for the nursery art gallery.
CHOOSE YOUR THEME AND ART PRINTS
Choose a theme of colors, textures or scenery. For example, a Sea theme with blue color or prints with sea relates quotes or photographs of the seashore.
Another really playful theme that is really popular is rainbows. Also a woodland theme with trees, forest creatures, and all those beautiful earthy tones.
You can use pastel colors to create a calm and relaxing environment for the baby and parents.
To help with their babies visual development you can choose a monochromatic theme using black and white, this combination is very stimulating for babies.
Important safety tip!
Make sure your nursery wall art is not over either the baby crib/cot or baby changer to avoid any risk of accidents.
Use different sizes of wall art pieces to keep it more dynamic and you can also choose vertical and horizontal art prints.
Add motivating quotes in a nice hand-letter typeface. Mix and match illustrations, photographies.
FRAMES
You can choose to have everything framed in one type of frame or use different types of frame. Also, you can play with frame colors and sizes.


Tip: Measure the amount of wall space you want to fill, to know with how much space you are working with.
Once you have selected the prints for your nursery art gallery, place the framed illustrations on the floor and have a play around on the floor with the layout.
You can place your favorite print in the center and start arranging the other complementary pieces around it. Similar to building a collage!
Tip: Use a level tool, to avoid any crooked art pieces. Also, you can use a pencil to lightly mark a reference point on the wall to hang your nursery wall art prints.
To hang the frames I normally use damage-free hanging strips, these are great if you later decide to change any art piece or rearrange your wall art gallery.
I have used command strips, they saved me from doing any repair from nail holes or any damage to the wall.
The Alternative
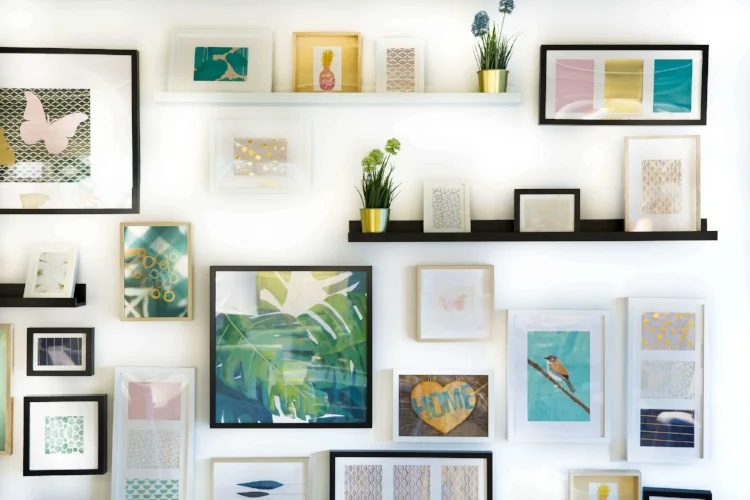
An alternative to a display your art in the nursery room is using floating shelves to place your framed art prints.
Just installed the shelves as you would normally do and instead of hanging the framed prints used the shelf as a base, and lean the art
This is a really quick way to switch around the nursery art pieces. Use layering, placing the taller framed prints at the back.
A great way to decorate your walls, damage free!
THE REVEAL
So there you have it! All the prints and patterns will look great together on the nursery art gallery wall!